After finishing the smart contract in the local development environment, we should deploy it to the Testnet (Ropsten, Kovan, Rinkeby)
There are many tools to deploy the smart contract to the testnets (you can do it with Truffle). In this tutorial, we will use two tools Remix and Metamask Wallet
Give me Ether
To deploy Smart Contract, we have to have Ether to pay for Gas, that is fees for the deployment. Following the steps below to get free ethers.
Click Metamask on Chrome, select Testnet - Ropsten
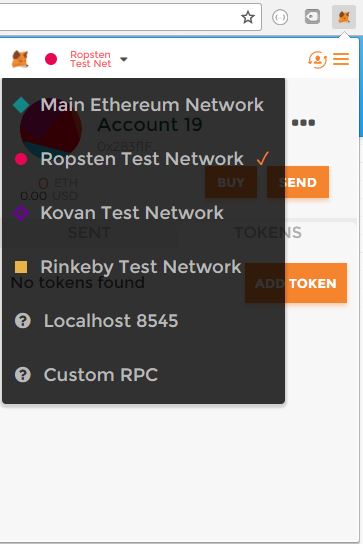
Create a new account on Ropsten Network. In the image below, I created Account 20
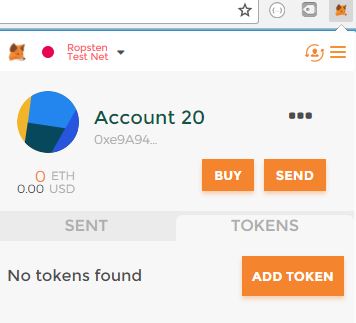
To get free Ether, we click BUY button from the account screen
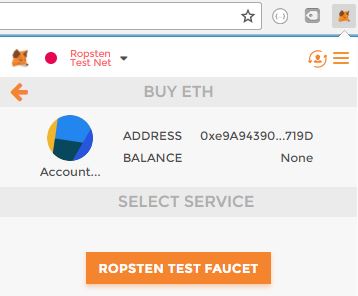
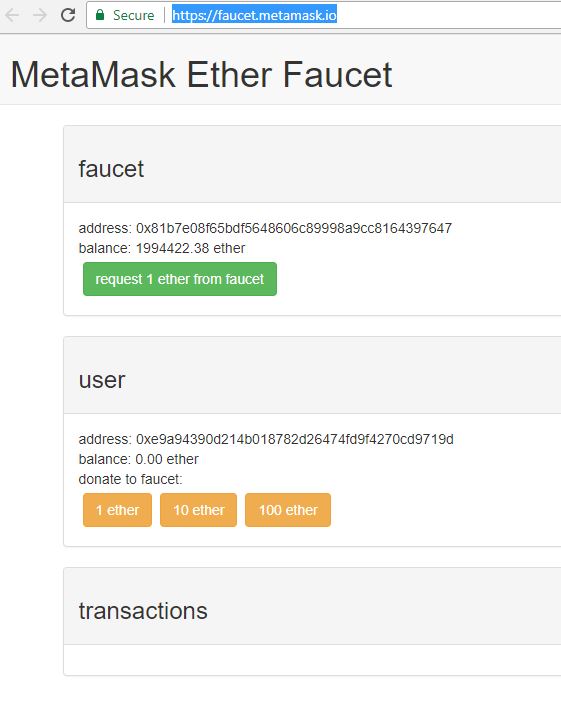
And click ROPSTEN TEST FAUCET to go site https://faucet.metamask.io/. On the site, we click button request 1 ether from faucet. Waiting a minute, we have 1 ether in our account
After receiving 1 ether, we move to the next step.
Build Smart Contract with Remix
Open your Chrome browswer and go to site https://remix.ethereum.org
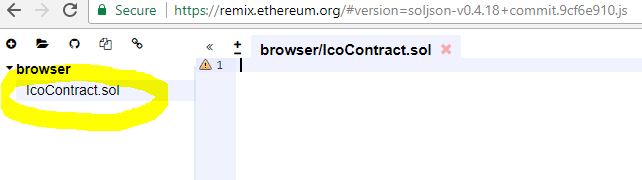
And create a new file by clicking the button on the top-left corner
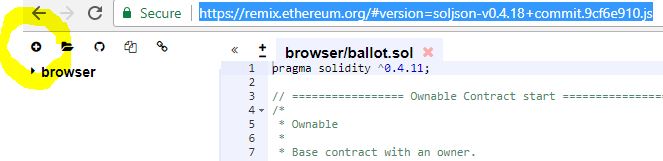
Rename it to IcoContract.sol
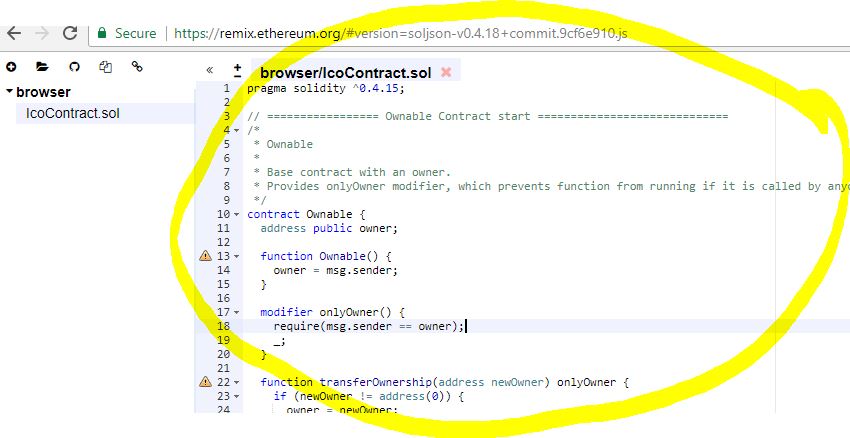
Copy your Smart Contract source code to the file
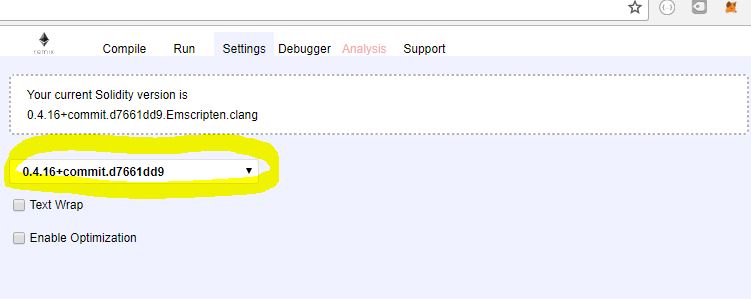
Open Settings tab, select the Solidity compiler version. In this tutorial, we choose version 0.4.16+commit.d7661dd9.Emscripten.clang
The Smart Contract will automatically compile by Remix. Now, we move to the next step.
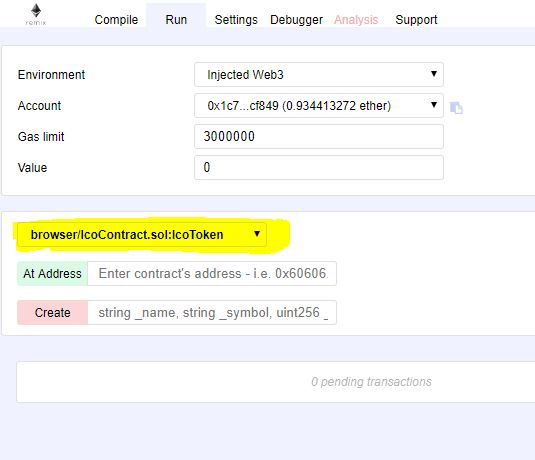
Deploy ERC20 Smart Contract with Remix
As you know, we have the two contracts need to deploy - IcoToken and IcoContract. We deploy IcoToken firstly.
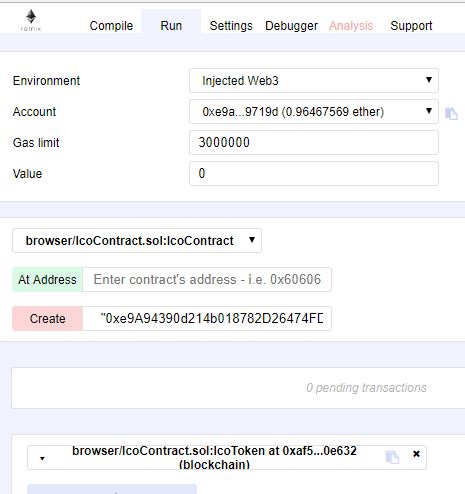
In Run tab, we select IcoToken Contract.
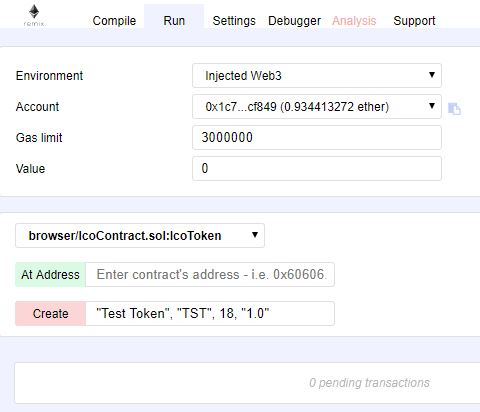
We copy-paste value "Test Token", "TST", 18, "1.0" into the Create textbox. Those are the parameters of IcoToken Class. Finally, click Create button
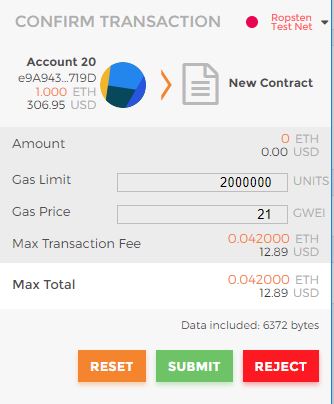
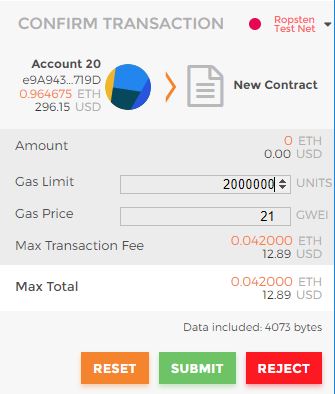
After clicking Create button, a popup Metamask window wil show in your screen waiting you confirm the deployment transaction. In this screen, you choose gasLimit 2000000 and gasPrice 21 Gwei
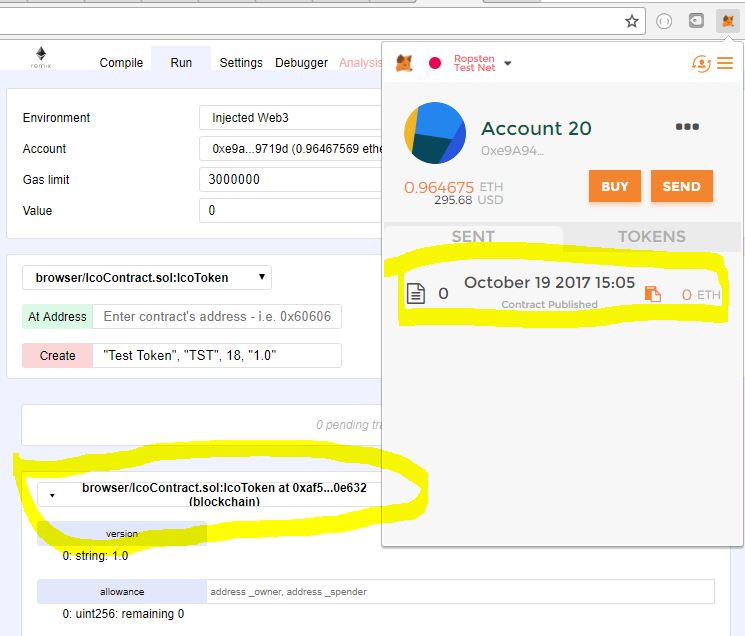
Waiting util the transaction is done. we will see the contract addess of IcoToken Class in Remix. Click the transaction in Metamask, it will redirect to ropsten.etherscan.io website
Now, go to next step to deploy the token sale contract.
Deploy Token Sale Smart Contract with Remix
As the step above, we need to input the parameters for the token sale contract. It should be:
"0xe9A94390d214b018782D26474FD9F4270CD9719D", "0xaf59cabaaab7315329a7971a16fca913b740e632", "100000000000000000000000000", "1000", "1504051200", "1514592000", "100000000000000000"
Explaining as the below:
  "0xe9A94390d214b018782D26474FD9F4270CD9719D", // Your ETH Address, you should custom it
  "0xaf59cabaaab7315329a7971a16fca913b740e632", // ERC20 Token address, you should custom it
  "100000000000000000000000000", // 100000000 Token
  "1000", // 1 ETH = 1000 Token
  "1504051200", // 30/08/2017
  "1514592000", // 30/12/2017
  "100000000000000000" // 0.1 ETH
And confirm the transaction with gasLimit 2000000, gasPrice 21 Gwei
Base on the logic in the contract, we have to run setIcoContract function in IcoToken Class to change the value icoContract valiable. So we copy-paste the Token Sale Contract Address into setIcoContract textbox in Remix. Make a transaction to change the data in the smart contract.

Now, the token sale contract is ready to test. So we go to the next step.
Test the token sale contract
Testing the contract in Testnet with Metamask is same with in local enviroment. So we can refer to the steps in Test the project page to verify the contract.